
Thursday – August 20
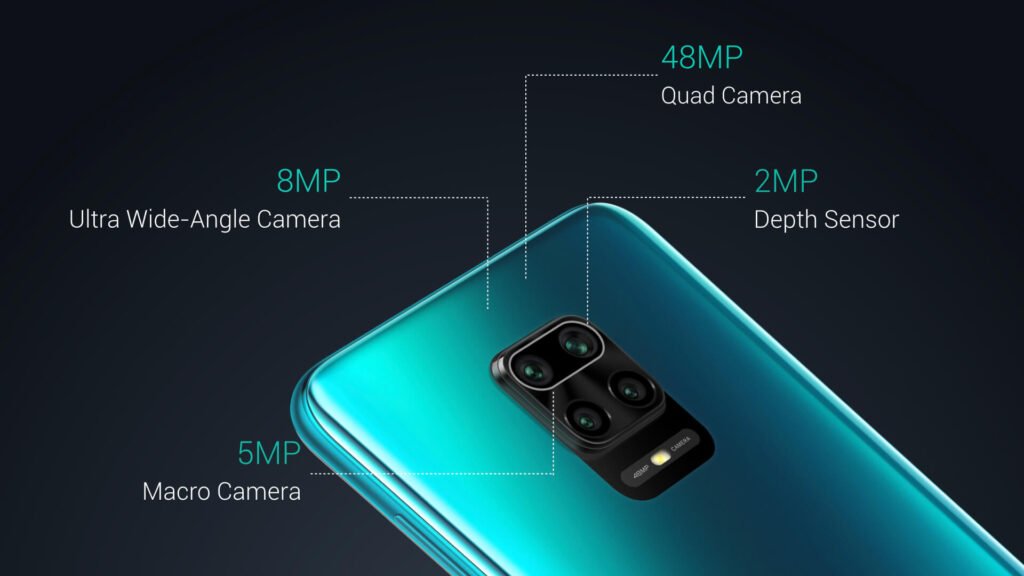
If you are a photography enthusiast and you are thinking of acquiring a professional camera to take your photography to the next level, these little tips can help you to use it correctly. Today we see the market saturated with many mobile phones offering the latest camera wonders. While it is true that it has advanced in a way abysmal in the implementation of technology as improvements in resolution however a are far to get you to compete directly in the professional field with DSLR cameras.
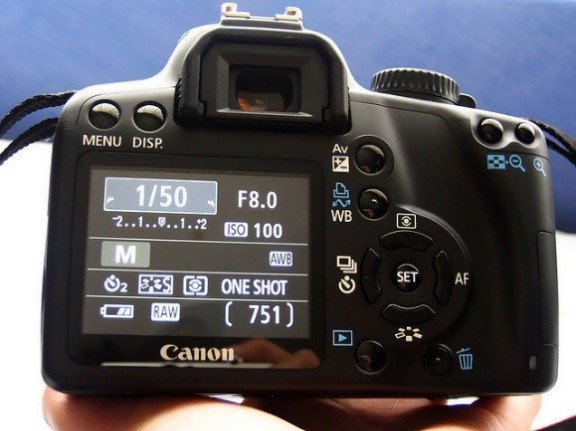
When we have in our hands for the first time a professional camera we are going to meet the great variety of options when taking a picture, but the option that really concerns us is the manual shooting with it we can get to take the pictures at our whim.
With your camera set to manual there are a number of options available including being able to control ISO sensitivity, shutter speed and aperture.
I won’t go into deep detail about the meaning of each of these options because I would never finish writing, but I will briefly explain how each one affects the final result of a photograph.
What is ISO: ISO sensitivity is the ability of the camera’s sensor to capture light.
What is the shutter: the shutter is the device in the camera that allows us to control the time the sensor will be exposed to the action of light.
What is the diaphragm: The diaphragm is a part of the lens that limits the light beam that enters the camera. It works like the iris of the human eye, opening or closing to allow more or less light to enter as needed.
Let’s say you go out on a picnic and you see a beautiful waterfall on your way, you take your DSLR camera and you want an artistic picture of that waterfall with the following shutter speed settings
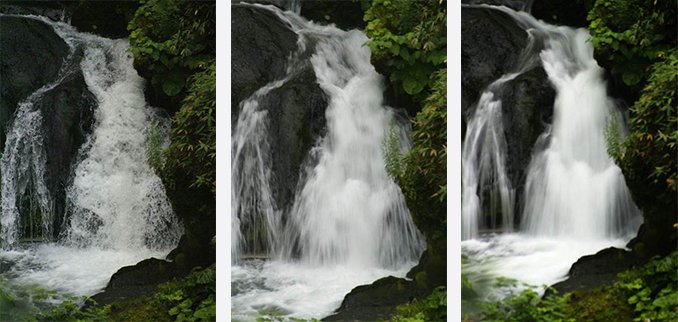
[1] was captured at 1/1250 sec. As the length of time the shutter was open was short, it captured a moment when water movement becomes static.
The photograph [2] was captured at 1/20 sec. As the water flowed while the shutter was open, the picture looks more dynamic.
The photograph [3] was captured at 1/4 second when the shutter was opened for a long period of time, resulting in a silky representation of the water flow.
In short, this example of the correct use of the shutter shows that at a higher speed you can freeze movement and at a lower speed you can have the opposite effect of capturing more information when an object or a person is moving.
A clear example of the use of the diaphragm can be seen in the following image.
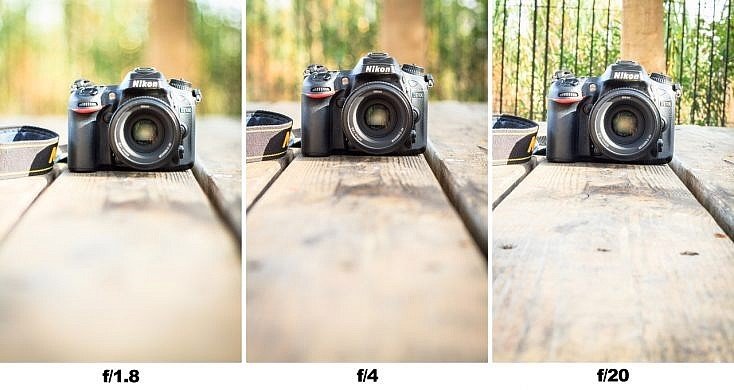
We can see that the greater its opening in this case f/ 1.8. is when the iris can be opened more and therefore more light can enter and defocus the background. In the case of f4 it is an intermediate opening where we can see in the foreground quite focused but the background a little blurred. In the case of f/20 it happens that both the background and the object are in focus because the iris is more closed in the latter case less light enters the camera.
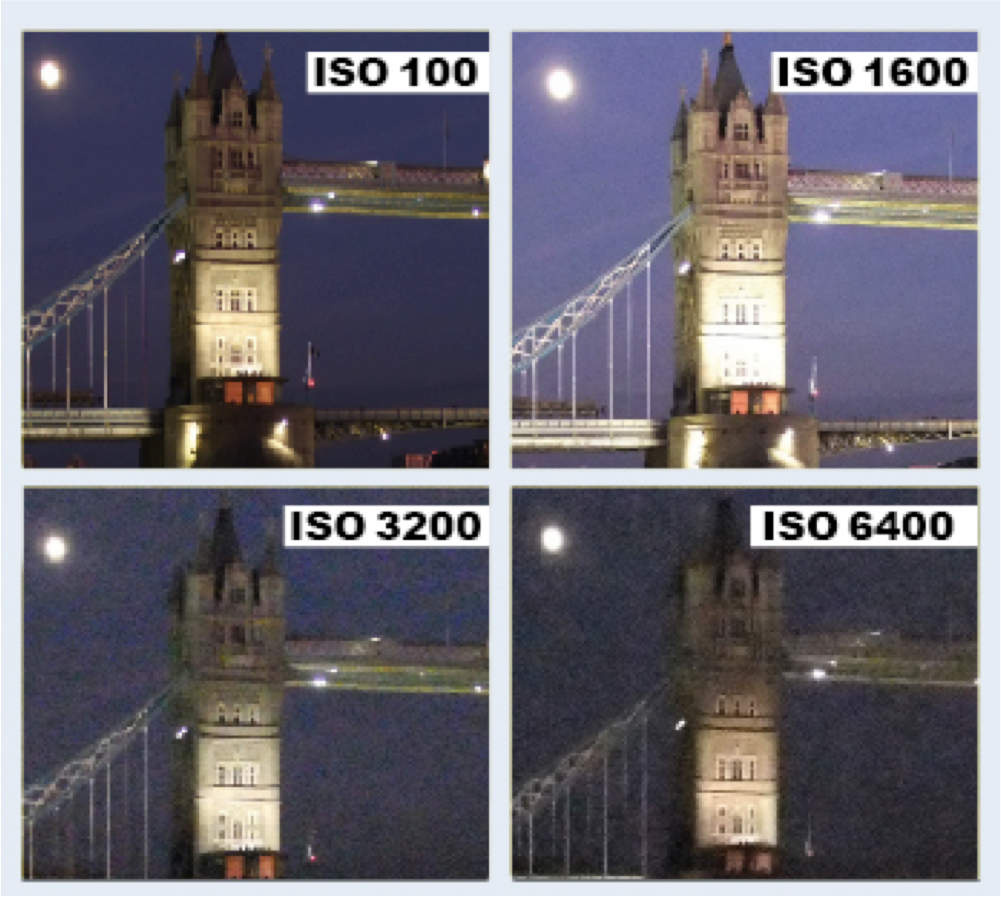
Let’s talk about the ISO sensitivity since its use is clearly to help the camera in low light situations to avoid that the images come out underexposed (dark) but its use in large quantities can be a headache for many professionals of photography because it can appear that annoying digital noise that many times makes the image lose quality. Its correct use would be an ISO of 100 to 800 in a cropped sensor camera and 100 to 3200 in a full sensor camera.
The world of professional cameras is very wide so it will take me many pages trying to explain you in full the use of them. I invite you to subscribe to our blog. So that you don’t miss any more posts about this wide world of photography.

Manuel Maldonado –
Audiovisual Producer